//
// ATmega I2Cスレーブ sample
//
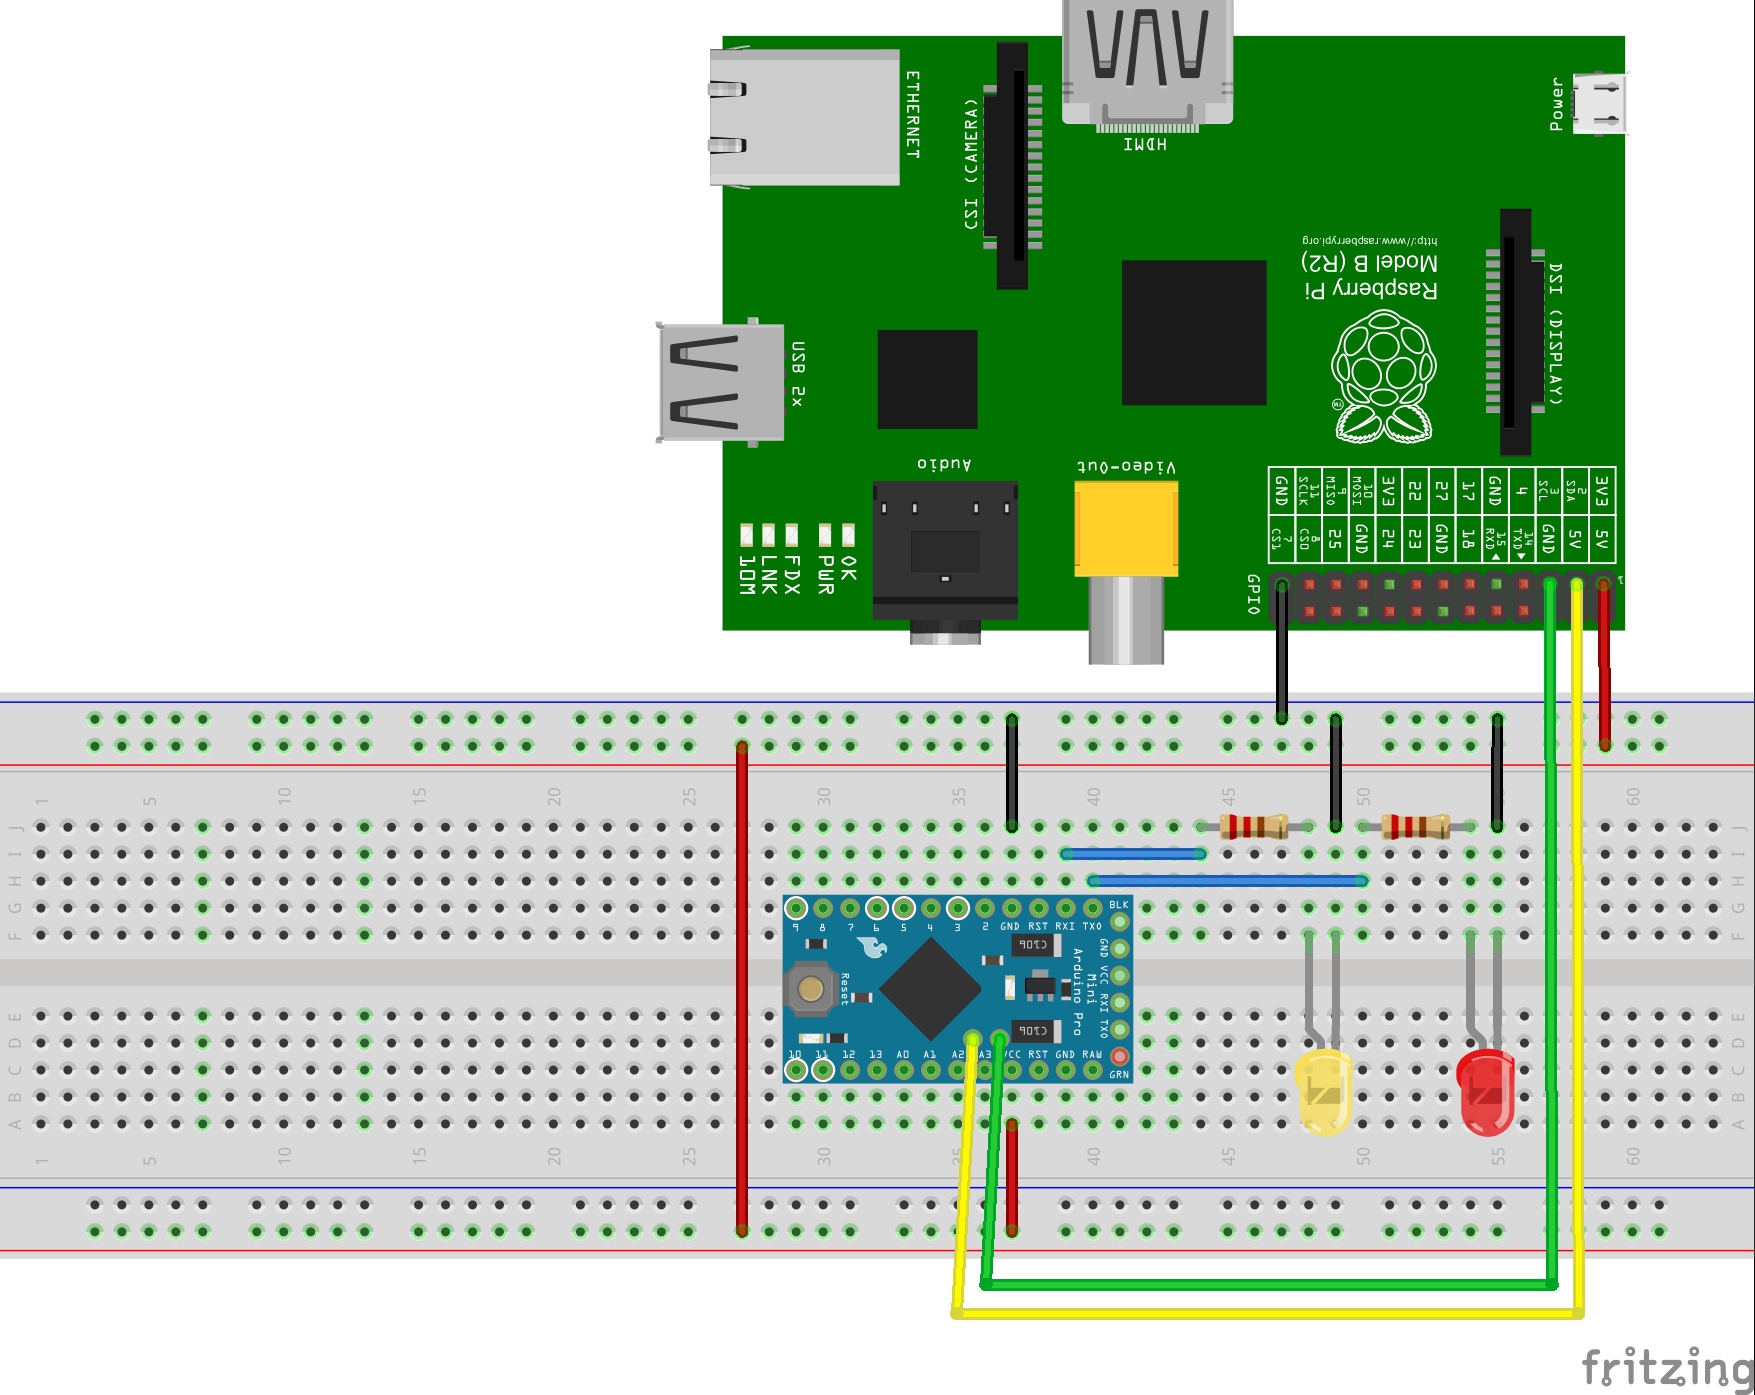
#include <Wire.h>
#define SLAVE_ADDRESS 0x08
int status = 0;
void setup() {
pinMode(0, OUTPUT);
pinMode(1, OUTPUT);
digitalWrite(0, LOW); // set the LED off
digitalWrite(1, LOW); // set the LED off
// initialize i2c as slave
Wire.begin(SLAVE_ADDRESS);
// define callbacks for i2c communication
Wire.onReceive(receiveEvent);
Wire.onRequest(requestEvent);
}
void loop() {
delay(100);
}
// callback for received data
void receiveEvent(int byteCount){
int number;
while(Wire.available()) {
number = Wire.read();
if (number == 1){
digitalWrite(0, HIGH); //
set the LED on
status=HIGH;
} else if (number == 2) {
digitalWrite(0, LOW);
// set the LED off
status=LOW;
} else if (number == 3) {
digitalWrite(1, HIGH); //
set the LED off
status=HIGH;
} else if (number == 4) {
digitalWrite(1, LOW);
// set the LED off
status=LOW;
}
}
}
// callback for sending data
void requestEvent(){
Wire.write(status);
} |