$ idf.py
Usage: idf.py [OPTIONS] COMMAND1 [ARGS]... [COMMAND2
[ARGS]...]...
ESP-IDF CLI build management tool. For commands
that are not known to idf.py an attempt to execute it as a
build system target will be
made. Selected target: esp32
Options:
--version
Show IDF version and exit.
--list-targets
Print list of supported targets and exit.
-C, --project-dir
PATH
Project directory.
-B, --build-dir
PATH
Build directory.
-w, --cmake-warn-uninitialized / -n, --no-warnings
Enable CMake uninitialized variable warnings for CMake
files inside the project directory. (--no-
warnings is now the default, and doesn't need to be
specified.) The default value can be set with the
IDF_CMAKE_WARN_UNINITIALIZED environment variable.
-v,
--verbose
Verbose build output.
--preview
Enable IDF features that are still in preview.
--ccache /
--no-ccache
Use ccache in build. Disabled by default. The default
value can be set with the IDF_CCACHE_ENABLE
environment variable.
-G, --generator [Ninja|Unix Makefiles]
CMake generator.
--no-hints
Disable hints on how to resolve errors and logging.
-D, --define-cache-entry TEXT Create a
cmake cache entry. This option can be used at most once
either globally, or for one subcommand.
-p, --port
PATH
Serial port. The default value can be set with the ESPPORT
environment variable. This option can be used
at most once either globally, or for one subcommand.
-b, --baud
INTEGER
Baud rate for flashing. It can imply monitor baud rate as
well if it hasn't been defined locally. The
default value can be set with the ESPBAUD environment
variable. This option can be used at most once
either globally, or for one subcommand.
--help
Show this message and exit.
Commands:
add-dependency
Add dependency to the manifest file.
all
Aliases: build. Build the project.
app
Build only the app.
app-flash
Flash the app only.
bootloader
Build only bootloader.
bootloader-flash
Flash bootloader only.
build-system-targets
Print list of build system targets.
clang-check
run clang-tidy check under current folder, write the
output into "warnings.txt"
clang-html-report
generate html report to "html_report" folder by reading
"warnings.txt" (may take a few minutes). This
feature requires extra dependency "codereport". Please
install this by running "pip install codereport"
clean
Delete build output files from the build directory.
confserver
Run JSON configuration server.
coredump-debug
Create core dump ELF file and run GDB debug session with
this file.
coredump-info
Print crashed task’s registers, callstack, list of
available tasks in the system, memory regions and
contents of memory stored in core dump (TCBs and stacks)
create-component
Create a new component.
create-manifest
Create manifest for specified component.
create-project
Create a new project.
create-project-from-example Create a project
from an example in the ESP Component Registry.
docs
Open web browser with documentation for ESP-IDF
efuse-common-table
Generate C-source for IDF's eFuse fields.
efuse-custom-table
Generate C-source for user's eFuse fields.
encrypted-app-flash
Flash the encrypted app only.
encrypted-flash
Flash the encrypted project.
erase-flash
Erase entire flash chip.
erase-otadata
Erase otadata partition.
flash
Flash the project.
fullclean
Delete the entire build directory contents.
gdb
Run the GDB.
gdbgui
GDB UI in default browser.
gdbtui
GDB TUI mode.
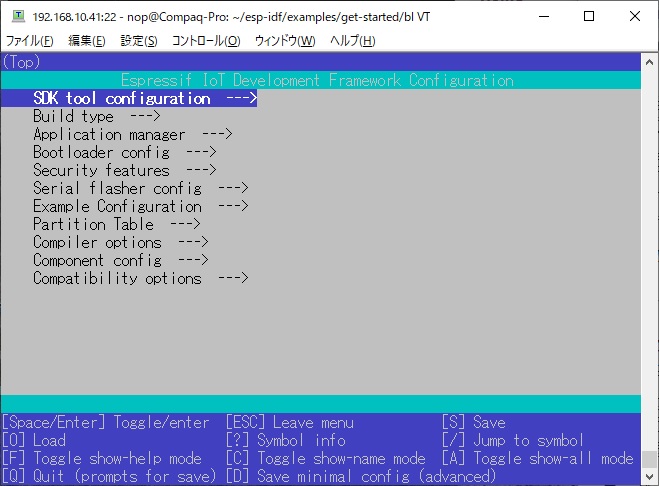
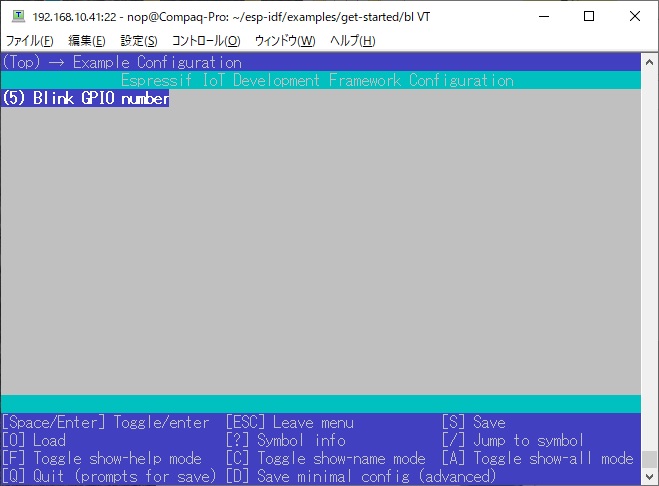
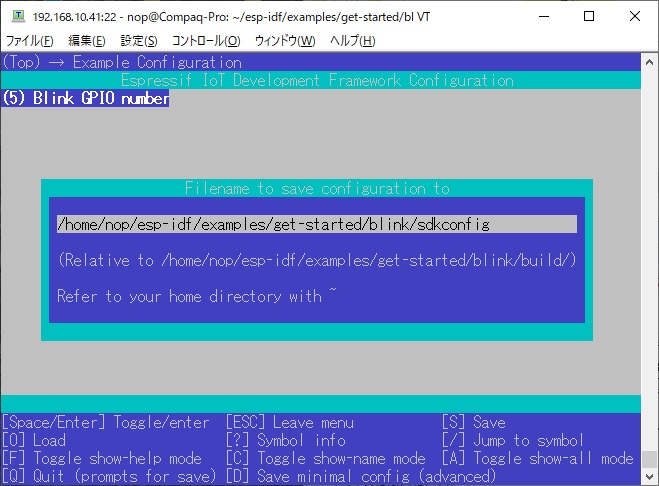
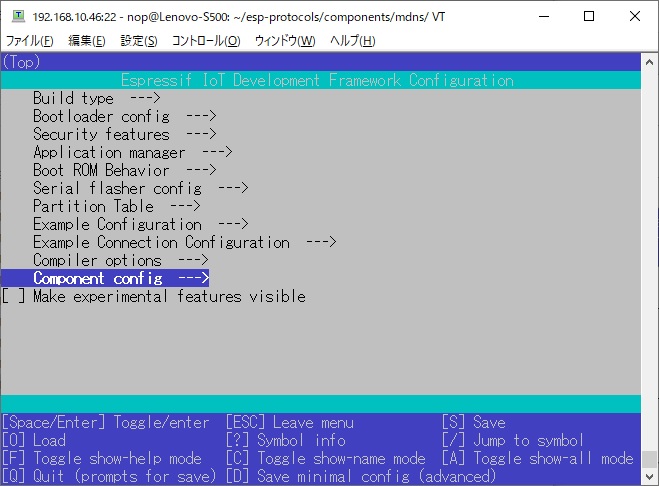
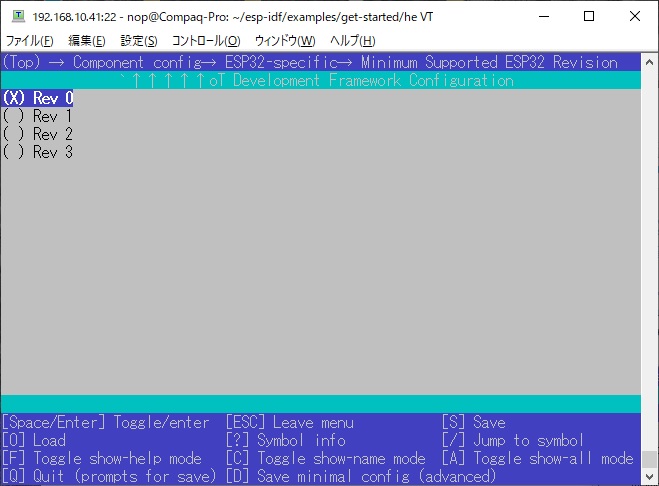
menuconfig
Run "menuconfig" project configuration tool.
merge-bin
monitor
Display serial output.
openocd
Run openocd from current path
partition-table
Build only partition table.
partition-table-flash
Flash partition table only.
post-debug
Utility target to read the output of async debug action
and stop them.
python-clean
Delete generated Python byte code from the IDF directory
qemu
Run QEMU.
read-otadata
Read otadata partition.
reconfigure
Re-run CMake.
save-defconfig
Generate a sdkconfig.defaults with options different from
the default ones
set-target
Set the chip target to build.
show-efuse-table
Print eFuse table.
size
Print basic size information about the app.
size-components
Print per-component size information.
size-files
Print per-source-file size information.
uf2
Generate the UF2 binary with all the binaries included
uf2-app
Generate an UF2 binary for the application only
update-dependencies
Update dependencies of the project
|