#include <ESP8266WiFi.h>
#include <PubSubClient.h>
#define
SSID
"APのSSID"
#define PASSWORD
"APのパスワード"
//#define MQTT_SERVER
"192.168.10.40"
//#define MQTT_SERVER
"broker.mqtt-dashboard.com"
#define MQTT_SERVER
"broker.hivemq.com"
#define MQTT_PORT 1883
#define MQTT_TOPIC
"nopnop2002/#" // You can change
WiFiClient espClient;
PubSubClient client(espClient);
void setup_wifi() {
delay(10);
// We start by connecting to a WiFi network
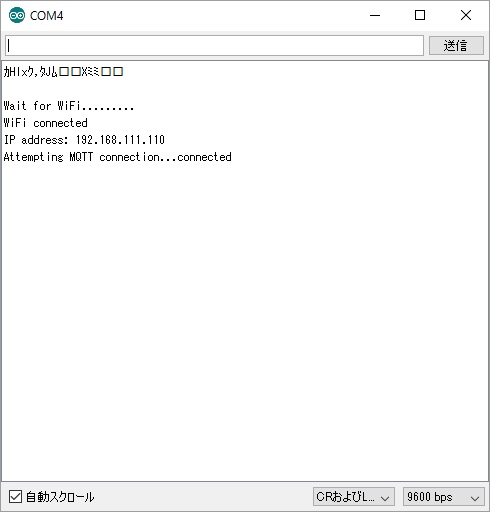
Serial.println();
Serial.println();
Serial.print("Wait for WiFi...");
WiFi.begin(SSID, PASSWORD);
while (WiFi.status() != WL_CONNECTED) {
delay(500);
Serial.print(".");
}
Serial.println("");
Serial.println("WiFi connected");
Serial.print("IP address: ");
Serial.println(WiFi.localIP());
}
void callback(char* topic, byte* payload, unsigned int
length) {
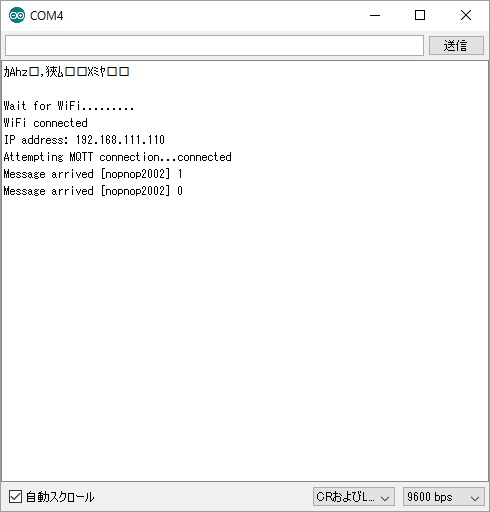
Serial.print("Message arrived [");
Serial.print(topic);
Serial.print("] ");
for (int i = 0; i < length; i++) {
Serial.print((char)payload[i]);
}
Serial.println();
// Switch on the LED if an 1 was received as first
character
if ((char)payload[0] == '1') {
digitalWrite(BUILTIN_LED,
LOW); // Turn the LED on (Note that LOW is the
voltage level
// but actually the LED is on; this is
because
// it is acive low on the ESP-01)
} else {
digitalWrite(BUILTIN_LED, HIGH);
// Turn the LED off by making the voltage HIGH
}
}
void errorDisplay(char* buff) {
Serial.print("Error:");
Serial.println(buff);
int led = 0;
while(1) {
digitalWrite(BUILTIN_LED,led);
led = ~led;
delay(200);
}
}
void setup() {
Serial.begin(9600);
pinMode(BUILTIN_LED, OUTPUT);
setup_wifi();
client.setServer(MQTT_SERVER, MQTT_PORT);
client.setCallback(callback);
char clientid[20];
sprintf(clientid,"ESP8266-%06x",ESP.getChipId());
Serial.print("clientid=");
Serial.println(clientid);
Serial.print("Attempting MQTT connection...");
// Attempt to connect
if (!client.connect(clientid)) {
errorDisplay("connect Fail");
}
Serial.println("connected");
if (!client.subscribe(MQTT_TOPIC)) {
errorDisplay("subscribe Fail");
}
}
void loop() {
client.loop(); // Receive MQTT Event
}
|